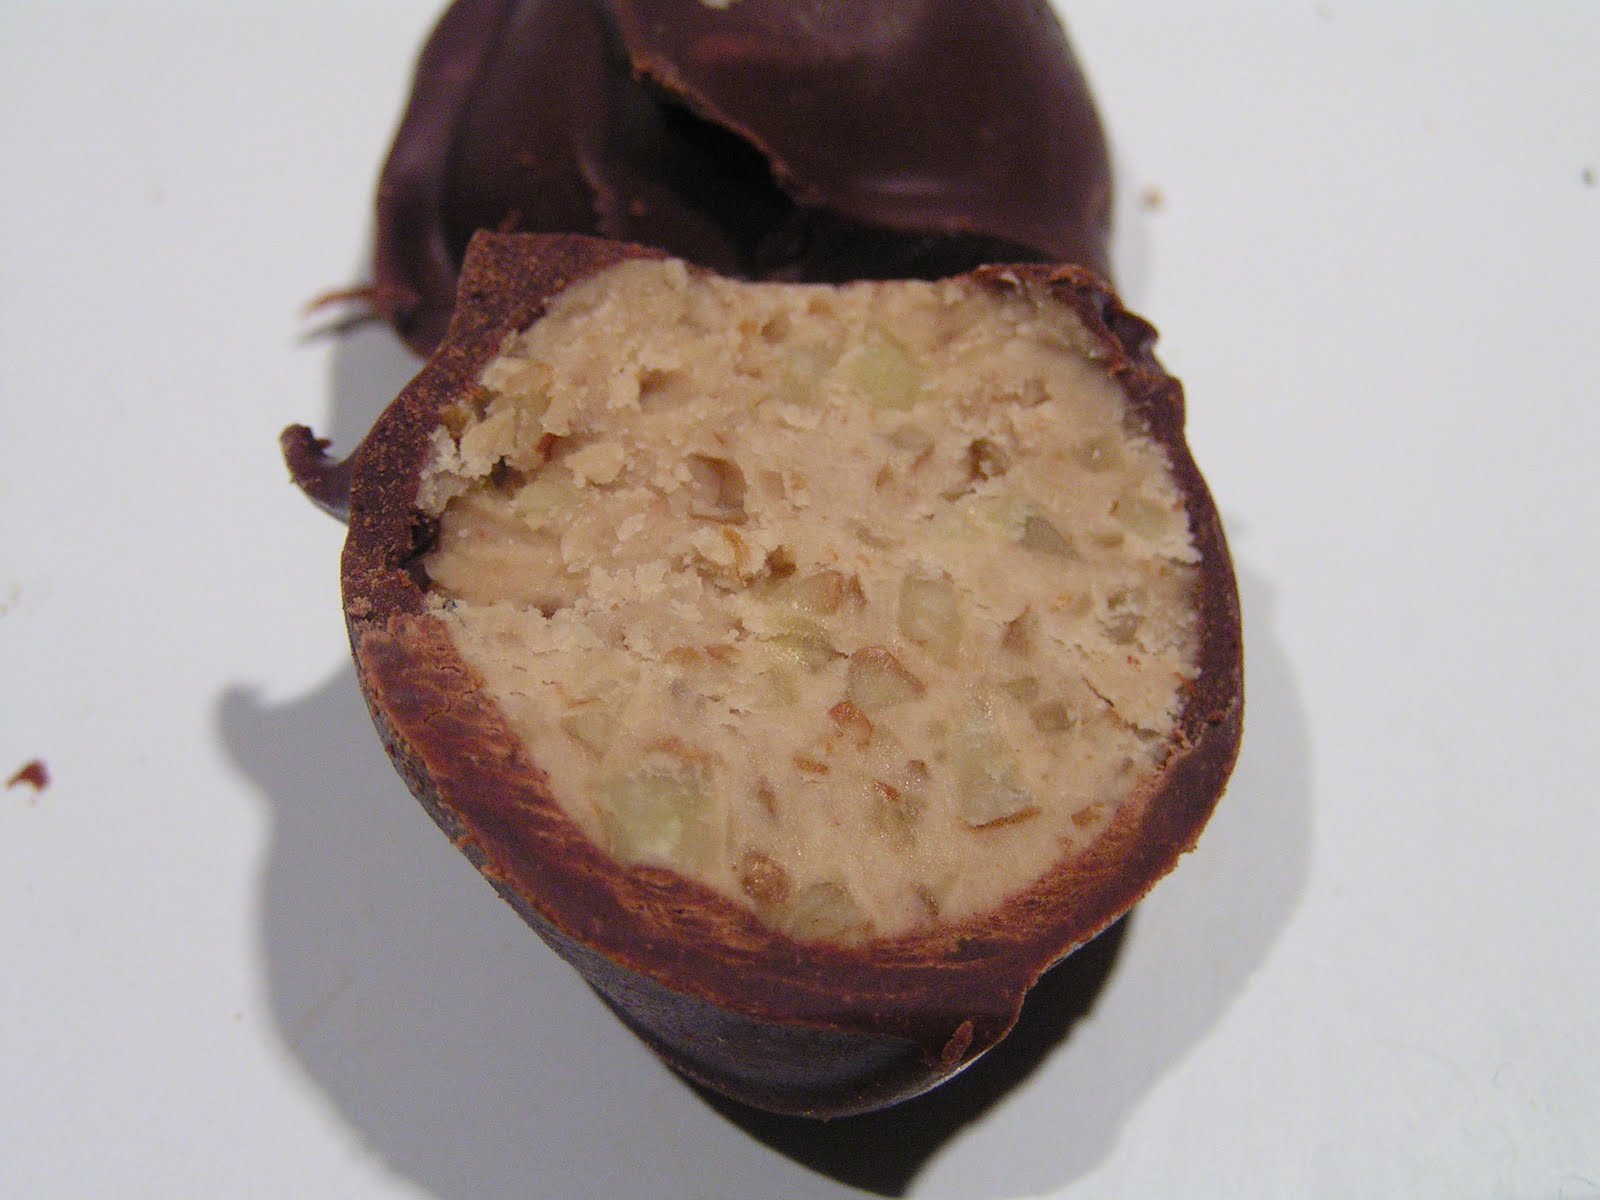
 Got your attention, huh?!
Here's my Christmas present to all of you with even the tiniest sweet tooth (is there such a thing??) The holidays are all about indulgence, and boy, do these little morsals fill the bill!
MAPLE TRUFFLES
makes about 42 candies
Ingredients:
1/2 c. butter, softened
2 tsps. maple flavoring
3 1/2 c. powdered sugar
1 c. finely chopped pecans (optional, but tasty)
1 pkg. (11 1/2 oz. Nestles Tollhouse Milk Chocolate Morsels (or equivelant brand)
2 tsp. shortening
Directions:
In a large bowl, cream butter and maple flavoring until light and fluffy (hand or stand mixer works). Gradually add sugar and mix well. Stir in pecans. Shape in 1" balls. The mix may seem dry, just squish a spoonful very firmly and then roll gently into a ball. Place on a plate. Cover and refrigerate about 1 hour, until firm and well chilled.

In a microwave-safe bowl, melt the chocolate chips and shortening (takes about 2 min. or so, stirring a few times). Stir until smooth.
Here's the coolest tip I've found for a long time. Don't run out and buy special chocolate dipping tools. Dig into the back of your silverware drawer and resurrect a plastic picnic fork. Break off the two middle tines. Wa-lah! A dipping fork that is better than anything in the stores - and you don't even have to wash it when the job is done!
 Here's how I do the dipping. Other folks will undoubtedly have their own secret methods. I'm not like that. I share.
 Place the bowl of melted chocolate into a larger bowl filled with enough very hot water to come up to the level of the chocolate in the smaller bowl. Got that? Then drop, one at a time, the maple balls into the chocolate bath, roll gently with spoon to completely coat. Lift the coated ball out with the special one-of-a-kind dipping fork you have cleverly made all by your big girl or big boy self.
I drag the bottom across the edge of the bowl to take off excess chocolate, then carefully deposit the coated ball on a sheet of wax paper placed on a small cookie sheet.
Using the edge of one tine, swirl the top of the chocolate around a few times and lift to form a cute little curly top. By the end of the batch, you will feel like a pro.
 Place the pan of chocolate coated balls in the fridge to harden. You have now officially made truffles.
Here's the best part. You MUST taste test.
After all, one wouldn't want to share an inferior product with one's friends, would one?? Besides, 1) you deserve it, 2) they are definately irrisistable, and 3) Santa said to (but watch out for jealous elves, they'll be sneaking those glorious goodies right out of the fridge when you aren't looking).
 With any luck and a strong ability to say "NO!" to your greedy fingers, you will have a lovely plate of truffles to proudly present to guests.
 Store any truffles left from marauders in a covered container in the refrigerator. You may not have to worry about this step.
Now that I have become a chocolatier and can make swirlys on the top of dipped candies, I've started collecting truffle recipes. Next up: Orange Coconut Creams. Or perhaps the Oreo Cheesecake Truffles.
So many recipes, so little time before New Year's Resolutions.


Candy, I do so enjoy your blog. Can't wait to try these truffles.
ReplyDeleteI love your well-thought out instructions. Thank you for not expecting me to know what you mean, and explaining it! I might just try these, they do look pretty hard to pass up. Love you! Thanks for the Christmas card, by the way, it brought such a warmth to my heart. :)
ReplyDelete